
Ah, the mini volcano experiment – a classic adventure into the explosive world of science that never fails to amaze!
As a mom who’s navigated the terrain of curious little scientists at home, I’ve set up more mini volcano experiments than I can count, right at our kitchen table, surrounded by towels and newspapers to catch the overflowing “lava.”
It’s these moments of messy, educational fun that spark a love for science in kids, showing them the thrilling side of learning. Whether it’s a rainy afternoon or a sunny day perfect for outdoor experiments, the mini volcano is a hit for kids of all ages.
And let me tell you, the requests for “just one more eruption” are endless. Here’s how you can bring this crowd-pleaser to life:
What You Need for a Mini Volcano Experiment
- A plastic cup
- Water
- At least 3-4 tablespoons of baking soda
- 1 teaspoon of dish soap (optional, if you want a bubbly, slow-moving volcano)
- Food coloring or washable paint (to save your surfaces from stains)
- 1 cup (8 oz) of vinegar

Step-by-Step Instructions: How to Make a Mini Volcano
- Prep Your Volcano Base: Fill the plastic cup about 2/3 full with water, setting the stage for your volcanic concoction. This will be the base of your volcano. Lay down some towels or newspaper underneath.
- Create the Mixture: Add the baking soda, dish soap, and a few drops of food coloring or washable paint into the cup. The paint option is a lifesaver for those who’d rather not spend the afternoon scrubbing stains.
- Mix It Up: Give your ingredients a good stir, mixing up a storm of potential.
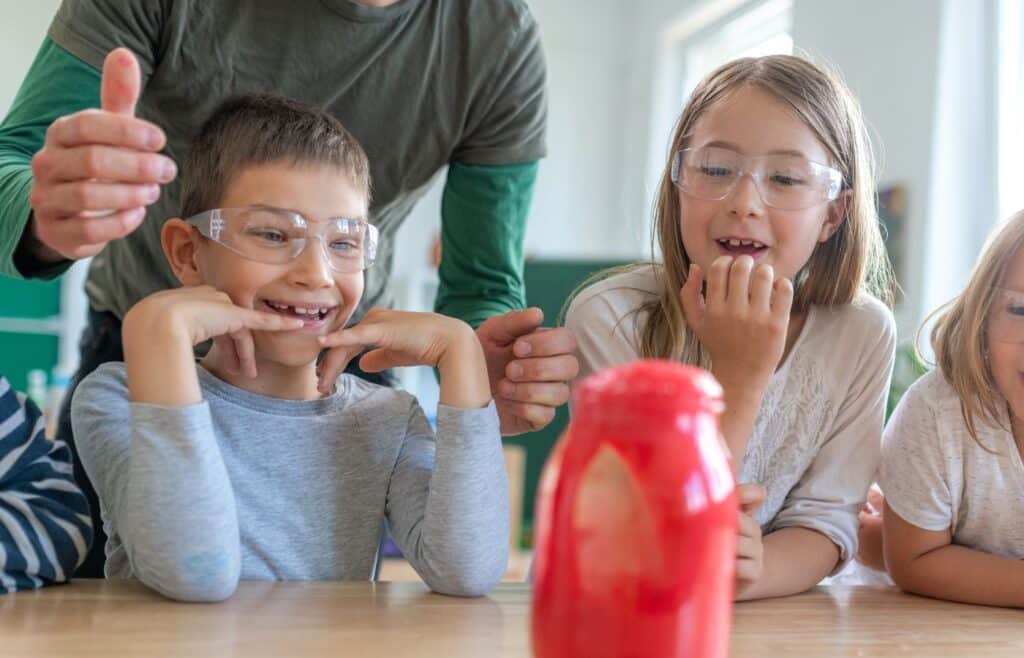
- Let It Erupt: Pour in the vinegar and watch as the mixture foams, fizzes, and flows over the edges of the cup, much to the delight of your eager little scientists.
- Repeat with Flair: After the first eruption, why not try different colors, or even take the experiment to new heights with a built volcano structure?
Fun Variations of the Mini Volcano Experiment
For those looking to take the experiment a step further, consider building a snow volcano during the winter months, packing snow around a cup to form a volcano, then adding the ingredients for an icy eruption.
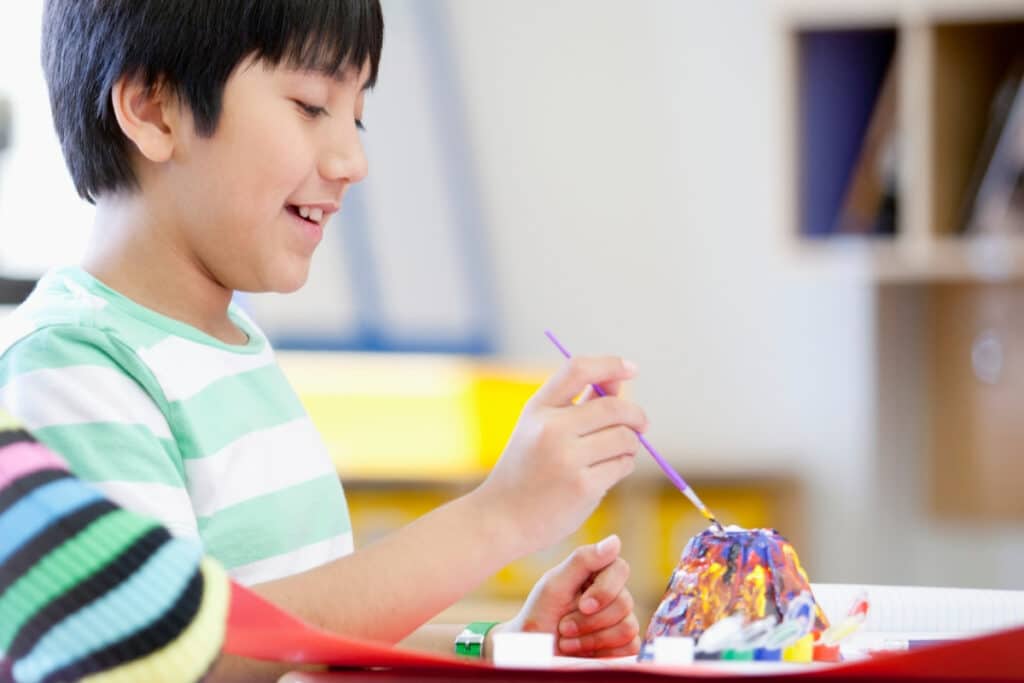
Alternatively, a paper mache volcano offers a crafty, reusable option for endless volcanic adventures.
The Science Behind the Eruption
The fizzy lava is more than just a fun spectacle; it’s a hands-on lesson in chemical reactions. The combination of vinegar (acid) and baking soda (base) creates an effervescent reaction, producing carbon dioxide gas.
This gas forms the bubbles and foam that mimic molten lava spewing from a volcano.
Watch the Mini Volcano in Action (Video)
For visual learners, here’s a great video we found that will walk you through the process of a DIY Mini Volcano.
More Easy Science Experiments with Baking Soda & Vinegar
Here are some more simple experiments that use baking soda & vinegar to explore chemical reactions:
- Orange Fizz
- Exploring Colors With Baking Soda & Vinegar
- 100 Easy Science Experiments Your Kids Can Do At Home
Why Kids Love the Mini Volcano Experiment
The mini volcano experiment isn’t just about the “wow” factor; it’s an invitation to explore science in a hands-on, interactive way. It teaches principles of chemistry, encourages hypothesis testing, and most importantly, it brings joy and excitement to the learning process.
So, whether you’re setting up shop at the kitchen table or venturing outside, the mini volcano experiment is a surefire way to engage young minds in the wonders of science. It’s a messy, fizzy, and utterly captivating journey into the heart of learning—and one that your kids will ask for again and again.
Here’s to making learning a blast, one mini volcano at a time!
Happy experimenting,
Calie
Frequently Asked Questions About the Mini Volcano Experiment
You’ll need a plastic cup, water, baking soda, vinegar, food coloring or paint, and dish soap (optional). Towels or newspapers are helpful for easy cleanup.
Fill a cup with water, add baking soda, dish soap, and food coloring, then pour in vinegar. The reaction creates fizzing foam that mimics an eruption.
The eruption happens because vinegar (an acid) reacts with baking soda (a base), releasing carbon dioxide gas. The gas forms bubbles that spill over like lava.
Yes! You can repeat the eruption by adding more vinegar to the mixture, or change it up with different colors, snow volcanoes, or paper mache volcanoes.
Yes, it’s safe and uses common household ingredients. Just be sure kids are supervised and that you protect surfaces from spills or food coloring stains.

Calie Herbst, Editor-in-Chief of Milwaukee With Kids, has spent over a decade combining her experiences as a parent of three to create a hub for Milwaukee’s family adventures.
Her decade-long teaching career in Milwaukee Public Schools and academic background, including a Master’s in Teaching from Marquette University and dual B.A.s in Sociology and Spanish from the University of Wisconsin – Madison, fuel her passion for inclusive and engaging family content.
Calie is also a recognized voice in local media, contributing to WISN Channel 12 News, WTMJ Wisconsin Morning News, Fox 6’s Real Milwaukee, and B93.3.
Discover more about Calie’s journey and editorial approach on her About Page and Editorial Policy Page.
")


")
